This is my final post covering the rebuild and startup of TAM, our 1969 Pontiac Firebird Trans Am convertible. Go here if you missed the disassembly of the car. This post won’t be wordy, but it will be picturey (is that a word?). Several of the shots were taken by my wonderful and talented photographer wife 🙂
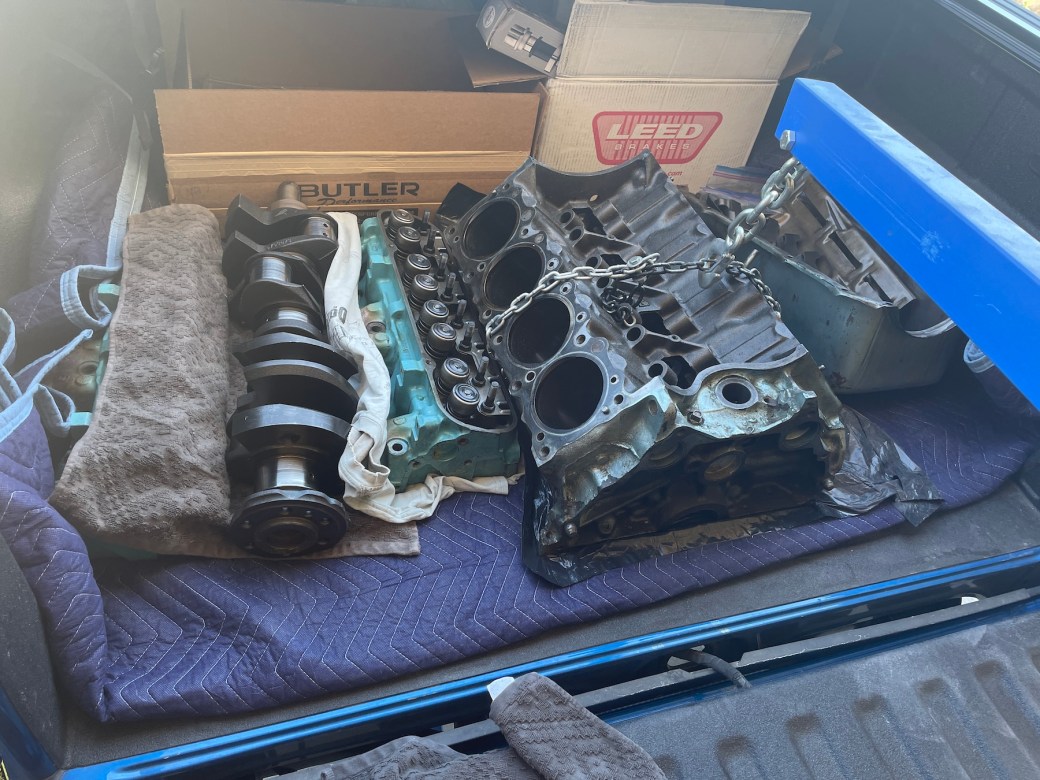
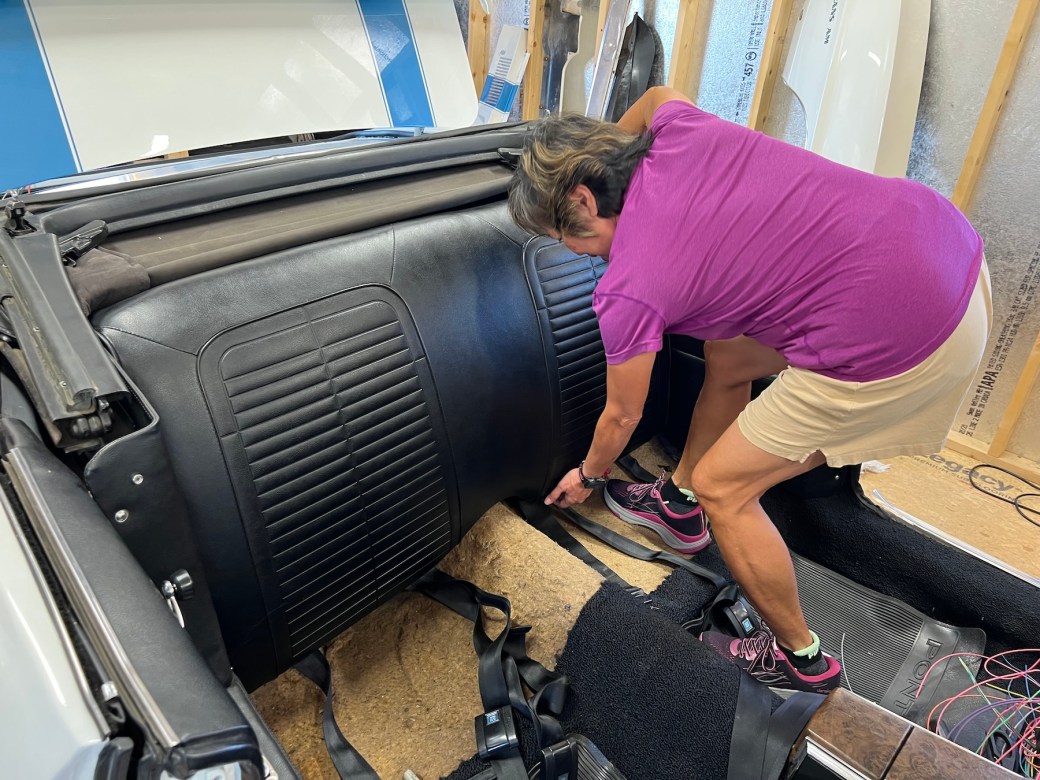
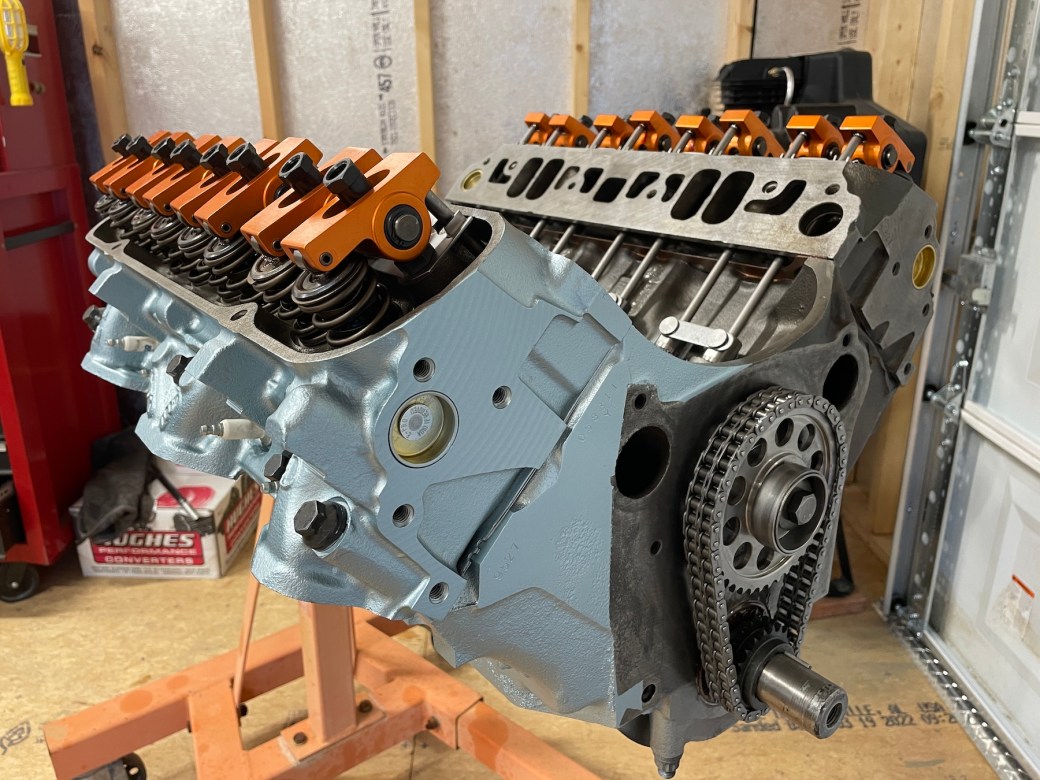
As I concluded the last post, TAM had been moved into her new home. After hauling all of my parts, tools and equipment down there it was time to start the rebuild part of the project. Once I tore down the engine and took the major components and many new parts to the engine builder I started on the other systems:
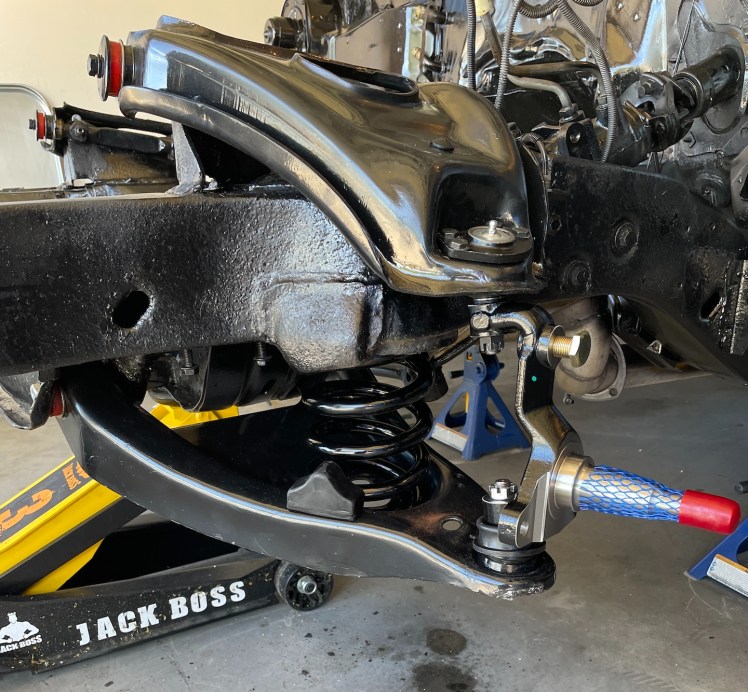
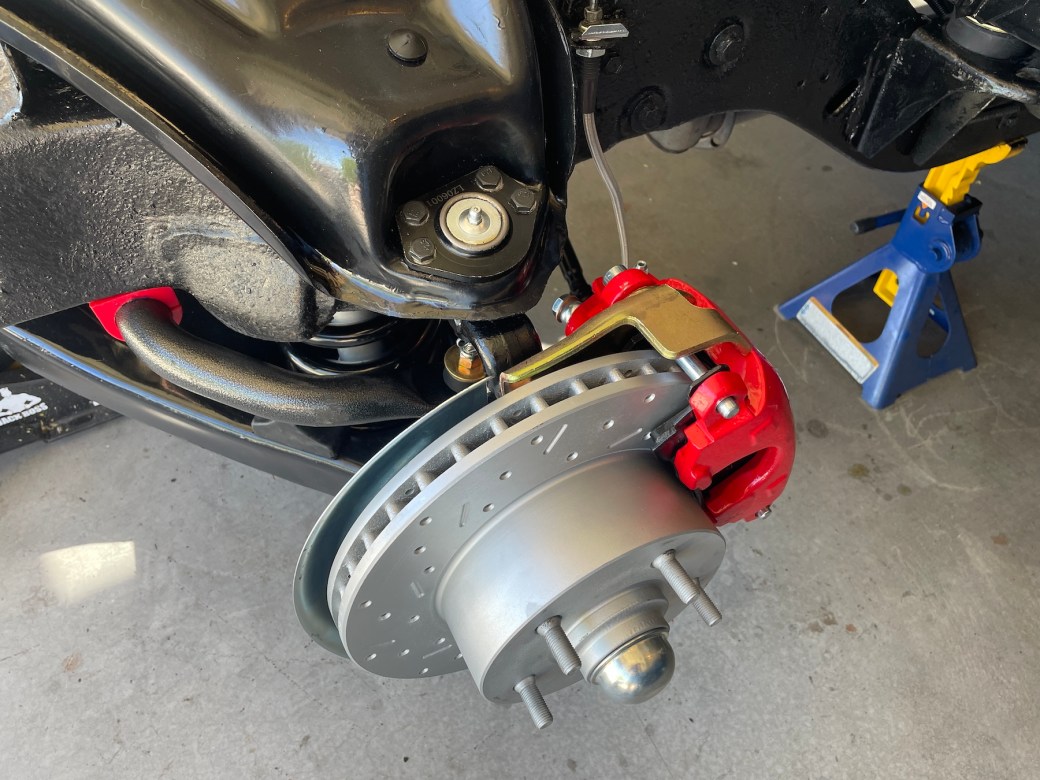
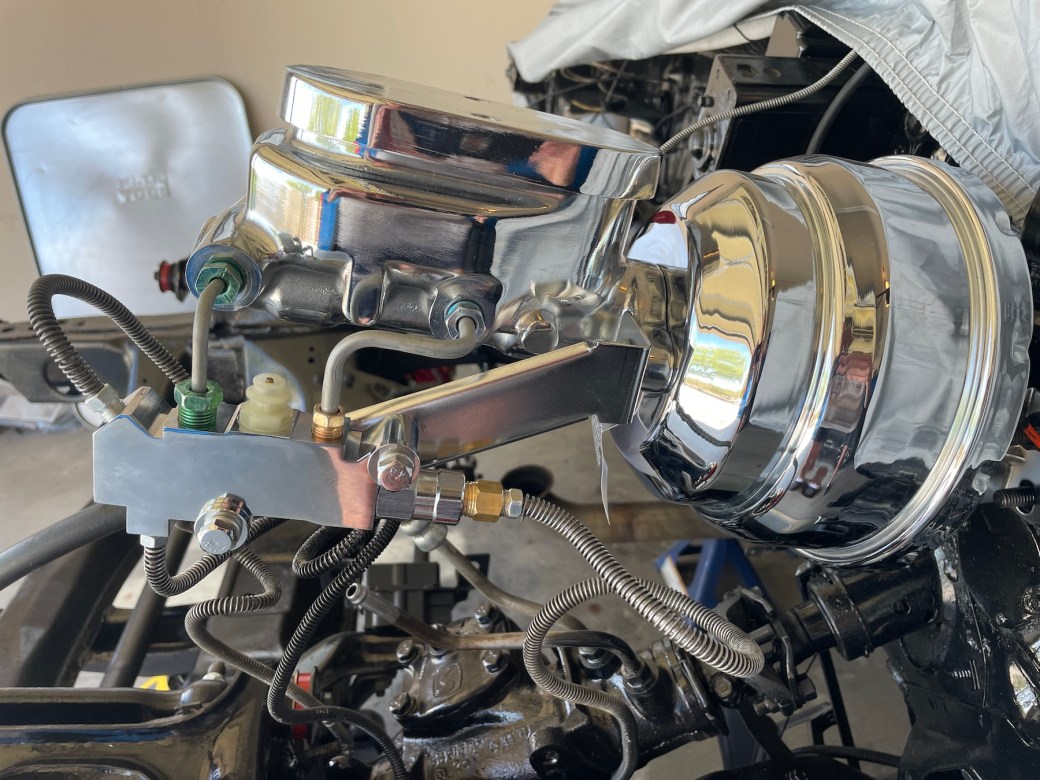
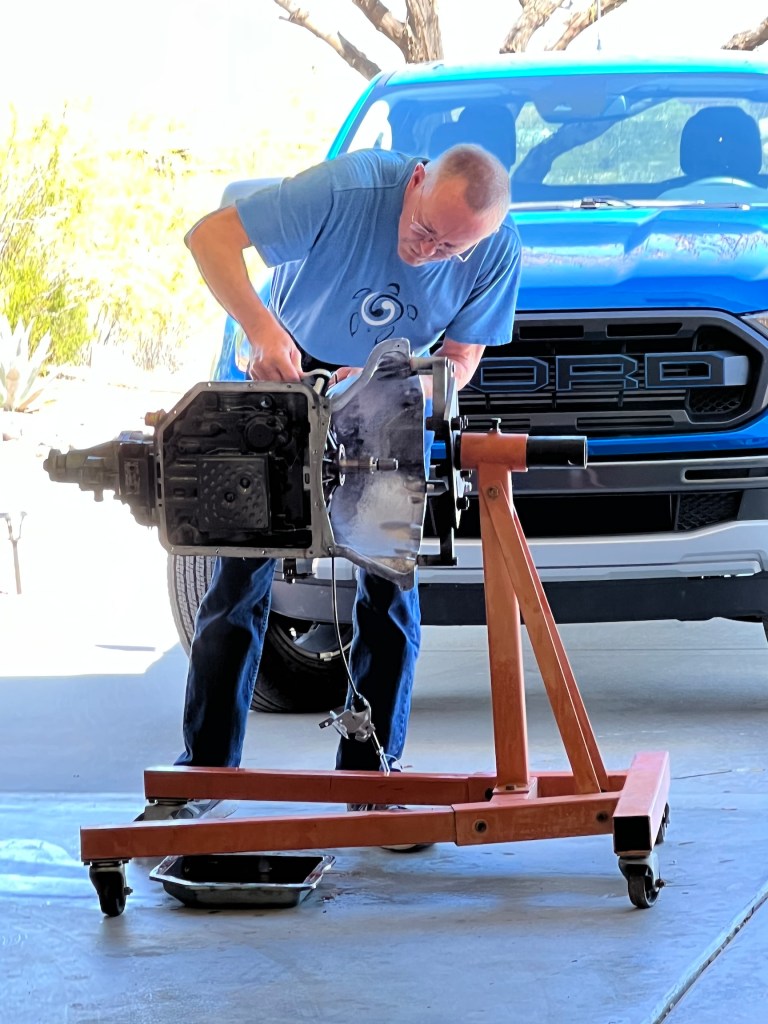


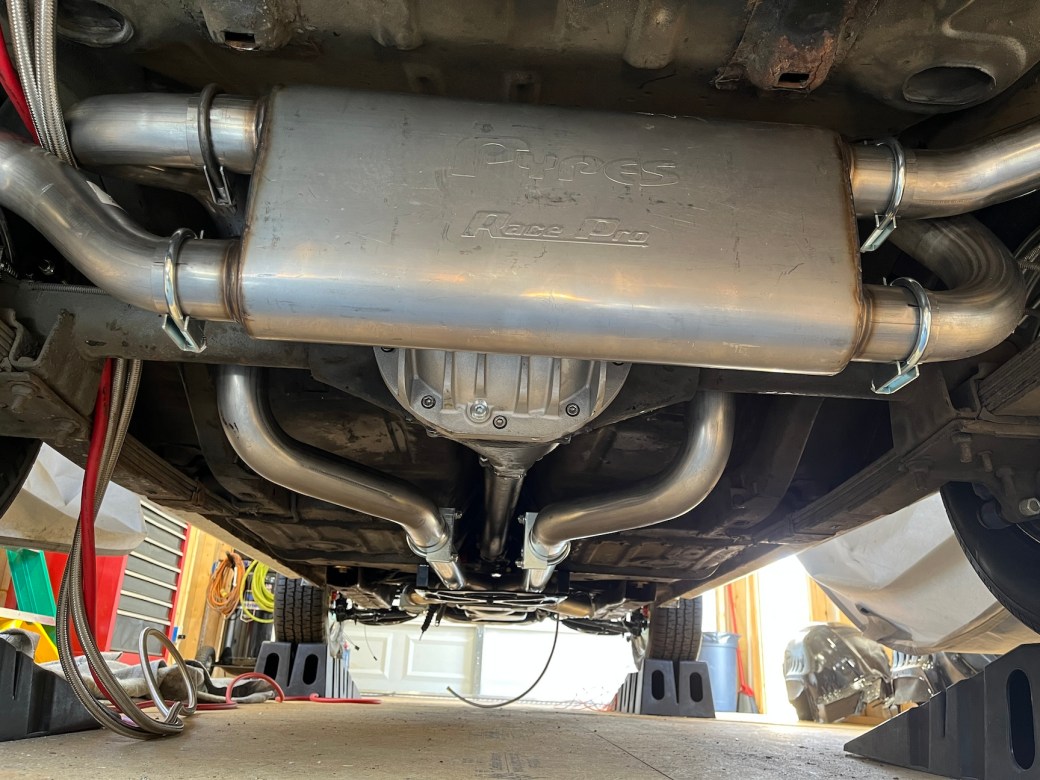
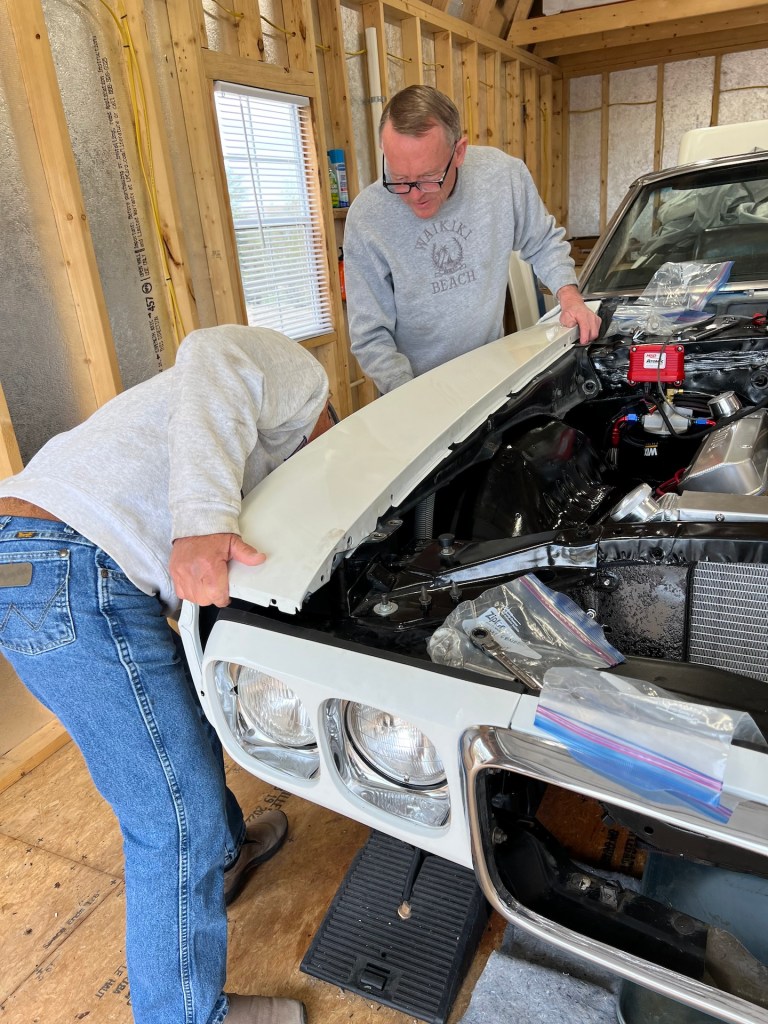
Dave helped tremendously with installing the engine and exhaust systems:

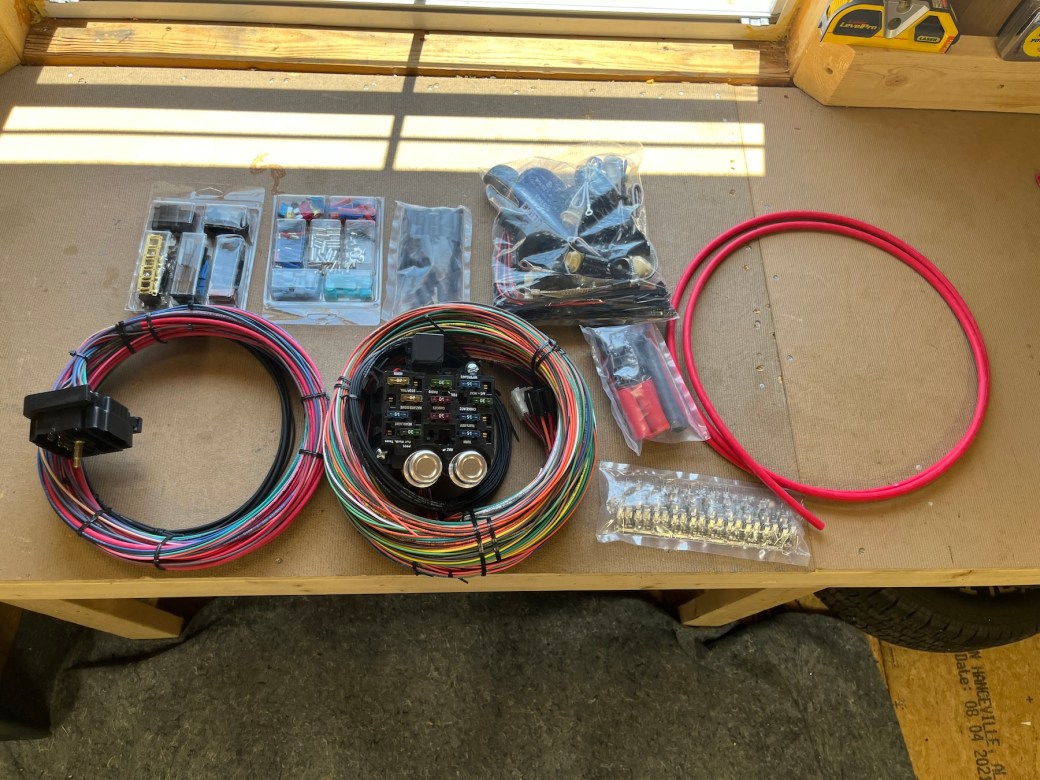
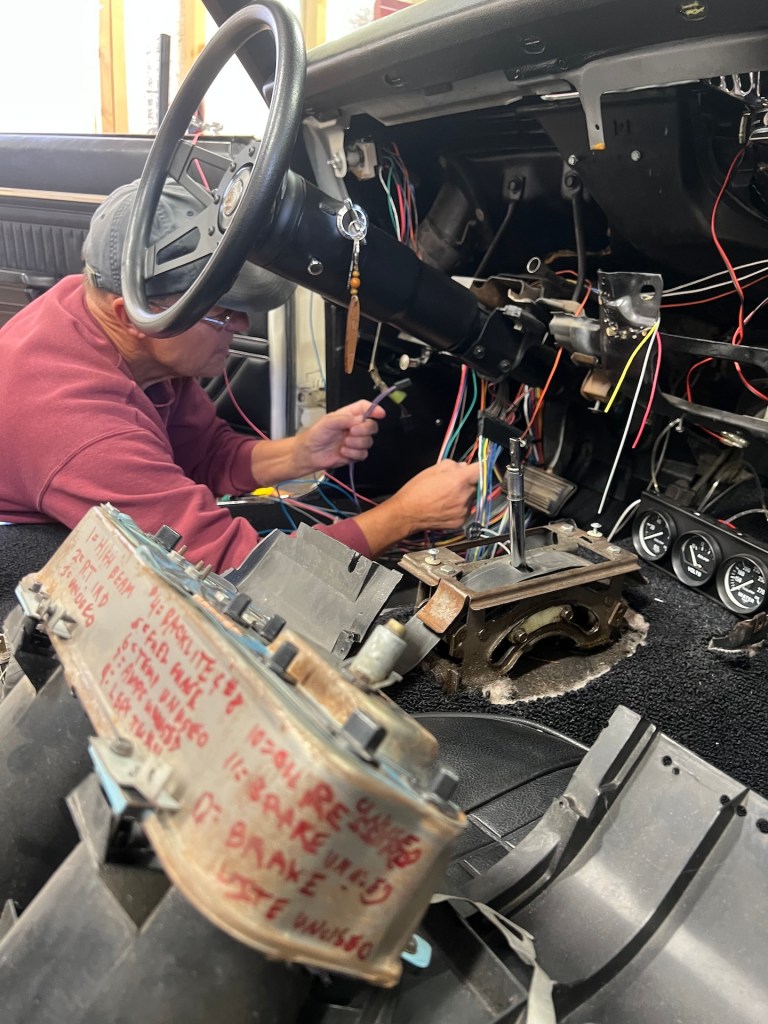
At this point Dave and Sue left for the summer on an extended RV adventure (lucky devils), so once I determined that I was going to re-wire the entire car I started on that project:

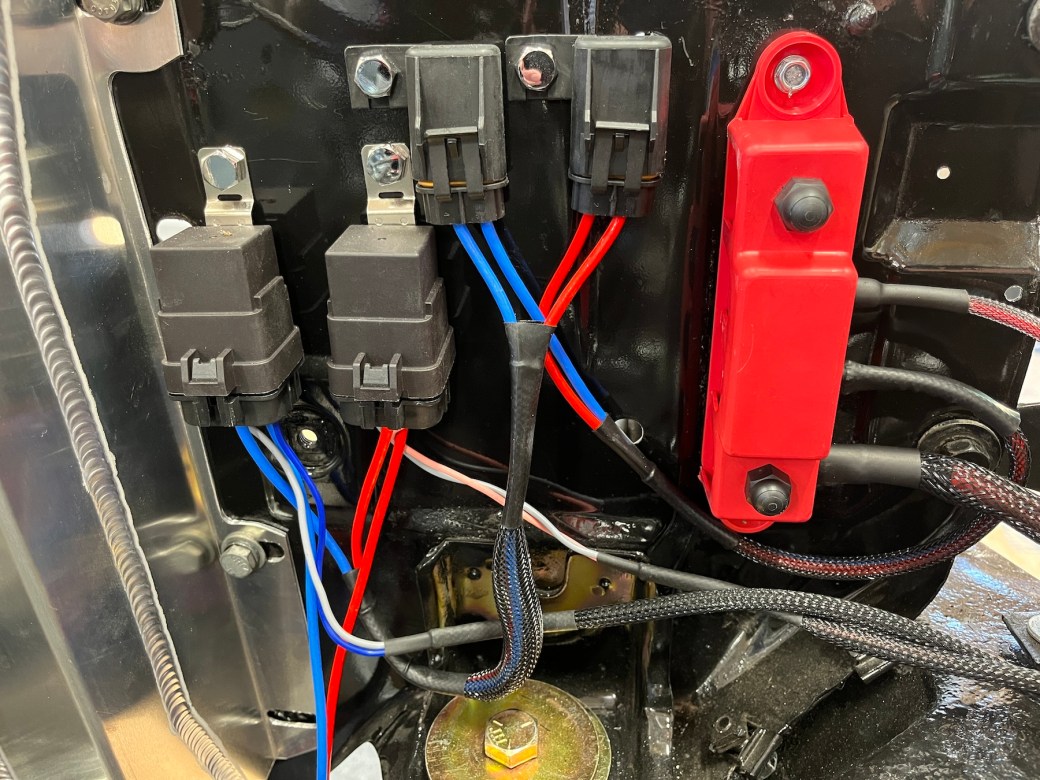
I should mention that I decided to install Electronic Fuel Injection (EFI) rather than a more expensive and finicky supercharged engine. However, integrating the EFI system turned out to be quite complex. After getting the lighting and most of the engine wired successfully, I was in over my head with the dashboard and some of the other computer components.
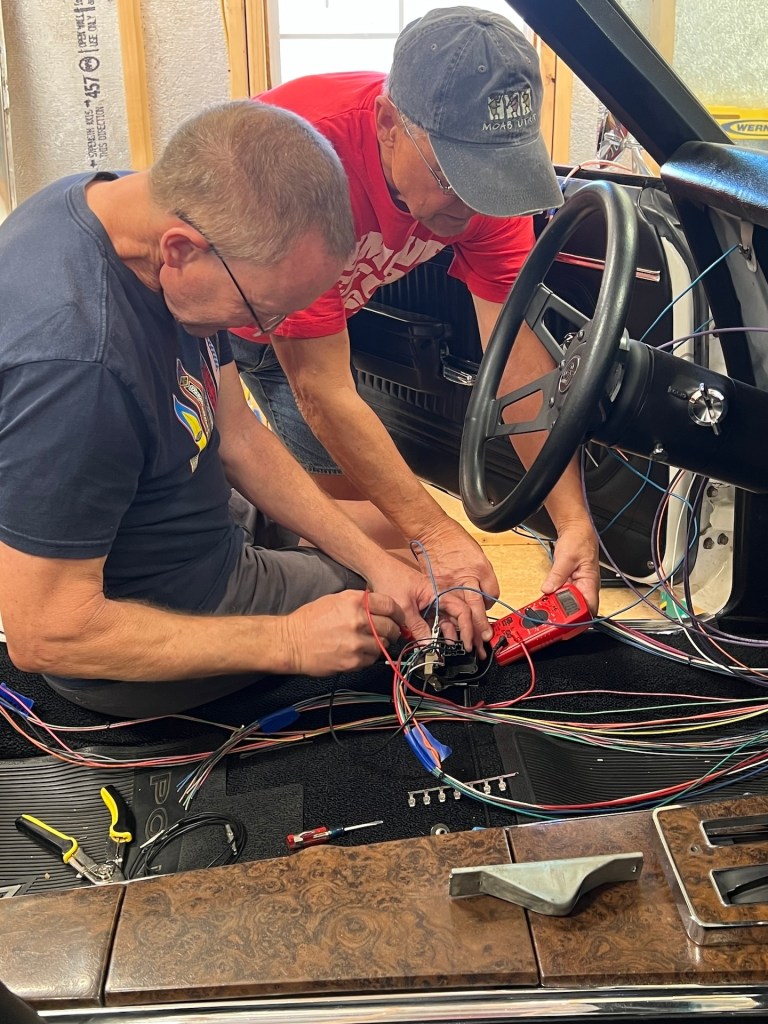
Because of the brutal summer we had in 2023 (over 125º in the uninsulated shop on many days) and just being burnt out, I put the project on hold for several months. I was about to hire an automotive electrician to help me finish the job when Dave returned from his trip and I learned that he’s an excellent electrician!
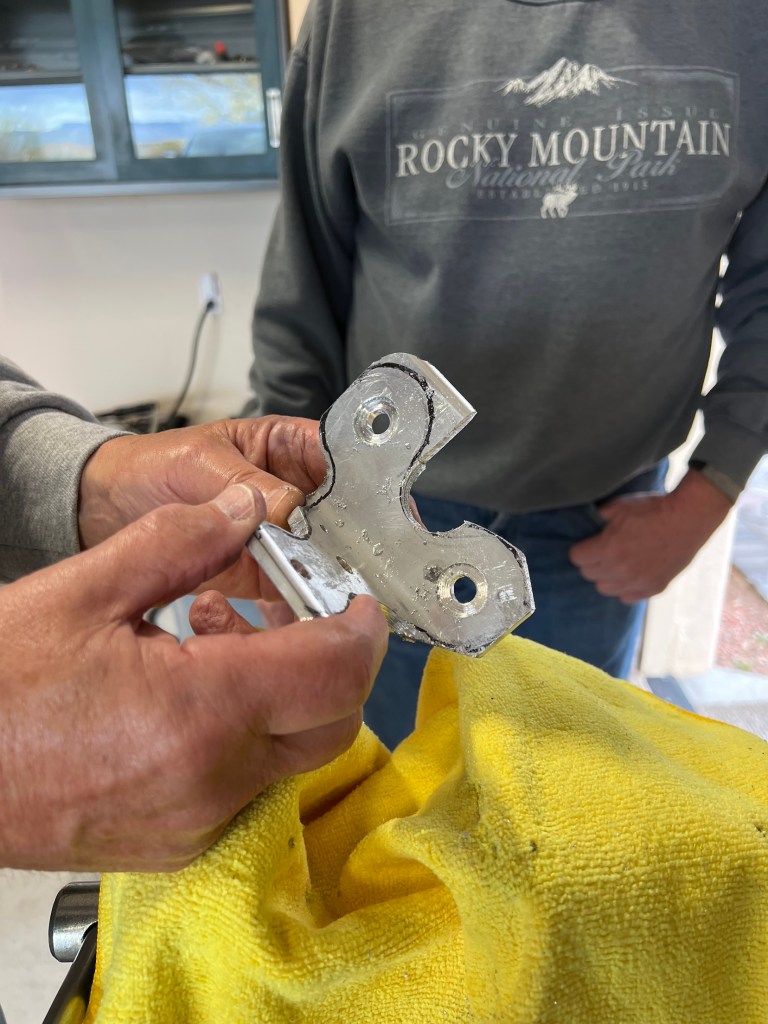
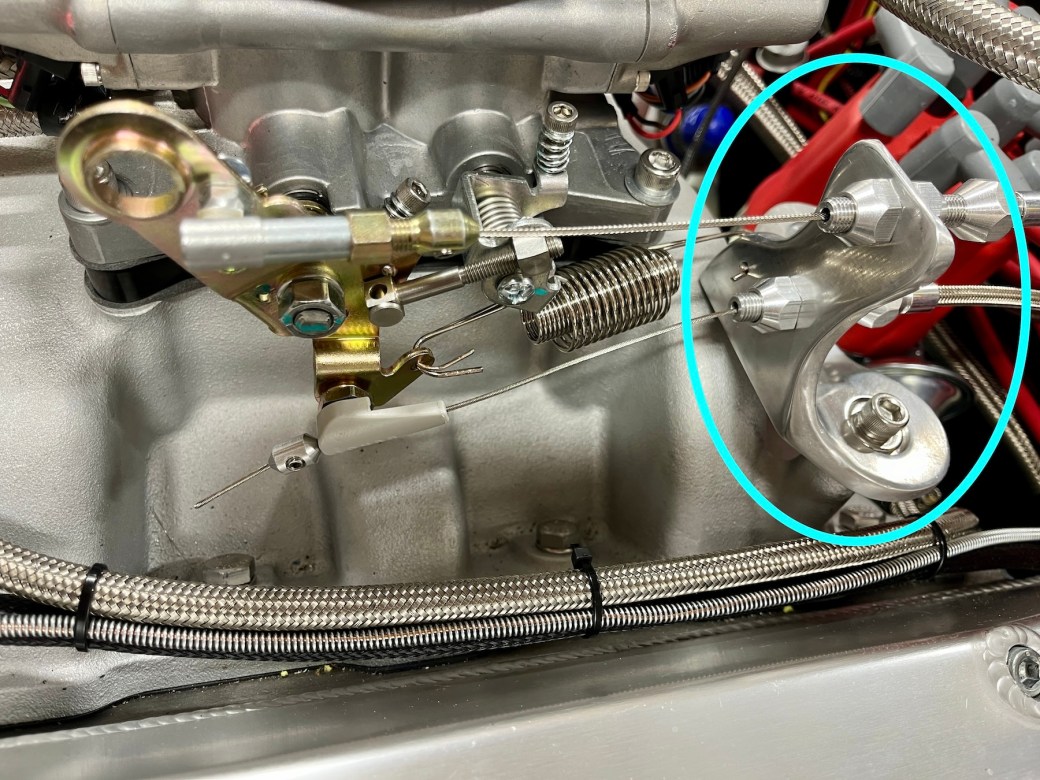
The huge wiring project finally completed, we moved to the details of mating old technology with new. Dave fabricated a custom bracket for the throttle and transmission kickdown cables. He designed and shaped it, then I did the finish work. It came out gorgeous, if I may say so:
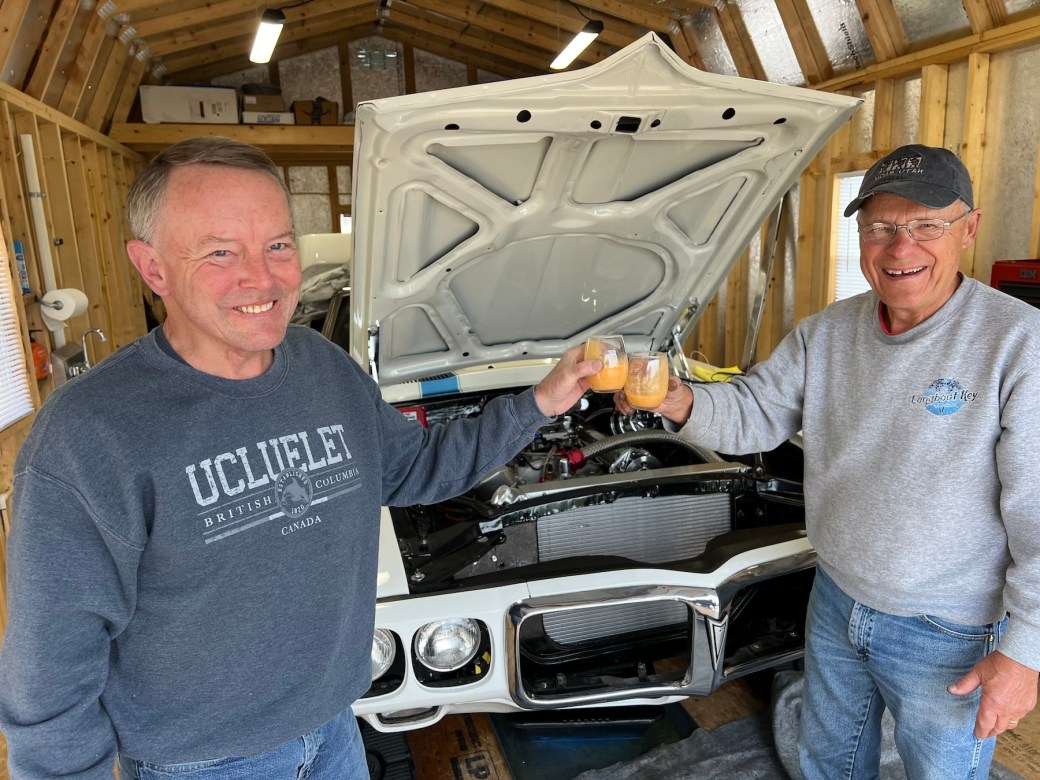
Since then we’ve fired TAM up and fine-tuned the EFI, brakes and suspension systems. Here’s a video of the initial startup captured by Mona Liza:

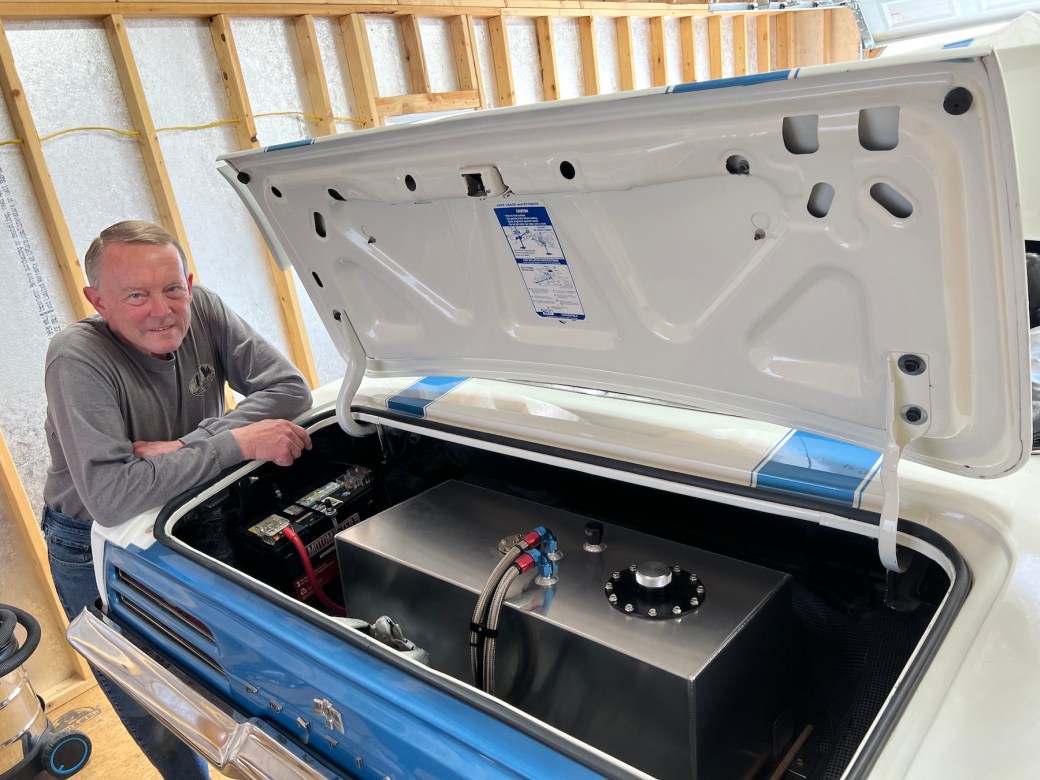
We replaced the front end and hood in a few hours and installed a hood tachometer. TAM is now a (estimated) 425 horsepower fuel-injected street machine, and my dreams have been fulfilled!


We will soon upgrade the rear differential gears from the current 3.90 ratio to 3.55. That will make TAM better suited for long distance driving with this engine. It will be the last major change we’ll make to her (and my bank account).
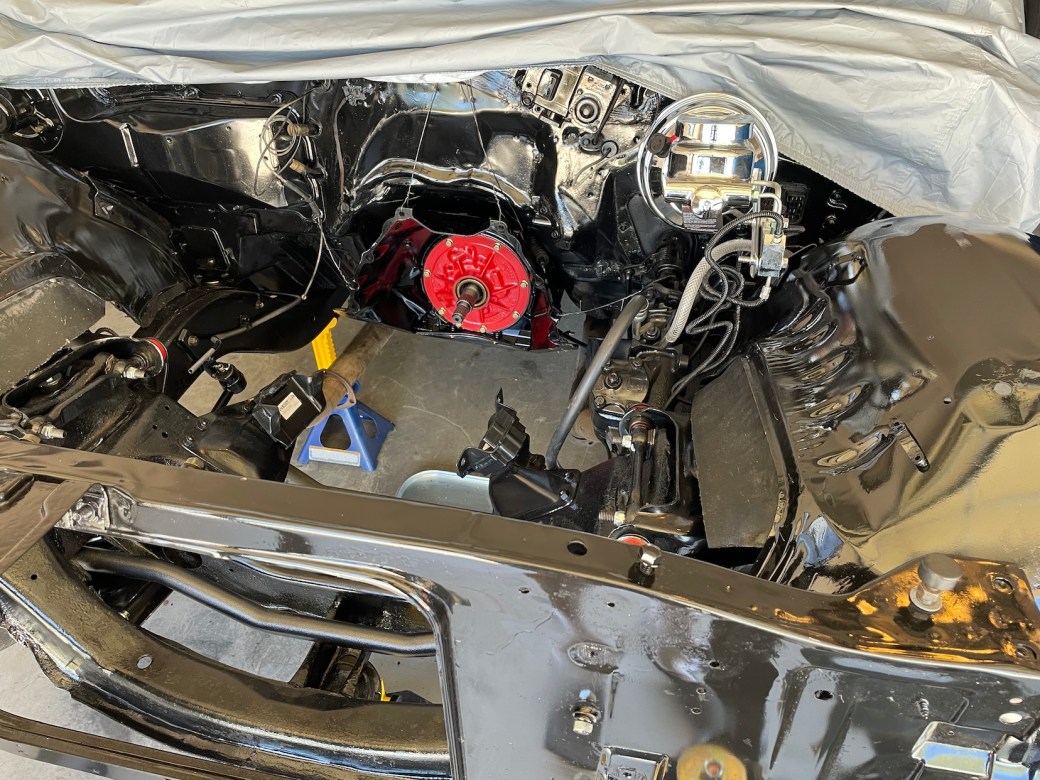
Quite a difference under the hood…


Here’s a short video of a little fun we had after completing such a major project…
Go Tam, go!
Comments
13 responses to “Steve’s 2-year TAM Rebuild, part 2 – Back On the Road!”
Wow, what a project!! All of those wires would have done me in, LOL. I probably would have created a bomb. So glad you had Dave to help you and of course, your lovely assistant ML to do the filming and supply smoothies to keep you guys fueled up. How cool to realize another dream! Have fun cruising in that beauty!
Two great posts Steve. I’ve only heard (in great detail) about each section of this restoration so it’s really cool for me to see pictures (mighty professional pictures, I might add) of the progression. Super job!
Thank you for approving of your hubby taking on a new temporary career!
Well, look what you did! It must’ve felt thoroughly rewarding to fire her up. The best part, in my humble opinion, is the helper you have — not only a very knowledgeable fella, but someone you actually enjoy spending time with and don’t just need for assistance. Two rare treasures in this post!
Like with you guys, the day I met Dave was a blessing in my life.
Brilliant! I have sent your post to my brother who continues to renovate various muscle cars. He will love it!
Currently writing this in my RV as I watch the snow in Bryce Canyon!
Bryce Canyon is my favorite Utah national park. I hope you’re having a great time there!
I had a similar year Pontiac, rust everywhere. The tail pipe was rusty on the show room floor. This looks so much better than new.
That’s quite a car you have there Steve! What is your next project?
My next project is paying for this project 🙂 But seriously, this is my last major rebuild. I might buy another car to tinker with, but my days of heavy lifting are over.
Lord have mercy indeed!
Aside from being impressed with the length of time you’ve been at this project and the result, my thoughts are:
I haven’t seen a timing light in years…
and
I thought that re-wiring a single fuse on our CR-V to support being towed was hard.
That light blue you used for the block is a favorite of mine ever since I saw Kawasaki use something similar on their Z-1R in 1978.
No tickets!!! 😆
I don’t have the speedometer working yet, so I can’t get a ticket. Right?