The “guest blogger” has one more post to share, this time detailing maintenance performed on Betsy while I was in the Philippines –
For several months we had been hearing a “squealing” sound in the plumbing near our water heater when using hot water. Although the water was fairly hot, it seemed not as hot as before. I was just hoping it would work well enough to get us into Arizona so I could deal with it during our winter hiatus. It was not to be.
Recently I noticed the hot water getting cooler each time I used it over a period of a few days. Finally, after a shower that was only lukewarm with the hot side all the way up I knew something had to be done, post-haste. My honey was out of the country, so only one of us had to suffer with no water and no propane for a few days. There was a Home Depot nearby for any parts I might need (or so I thought), so I got to work.
I knew the water heater was producing hot water, because when I switched it to propane I could hear it cycling normally and for the correct length of time. So hot water was in the tank but unable to get throughout the coach.

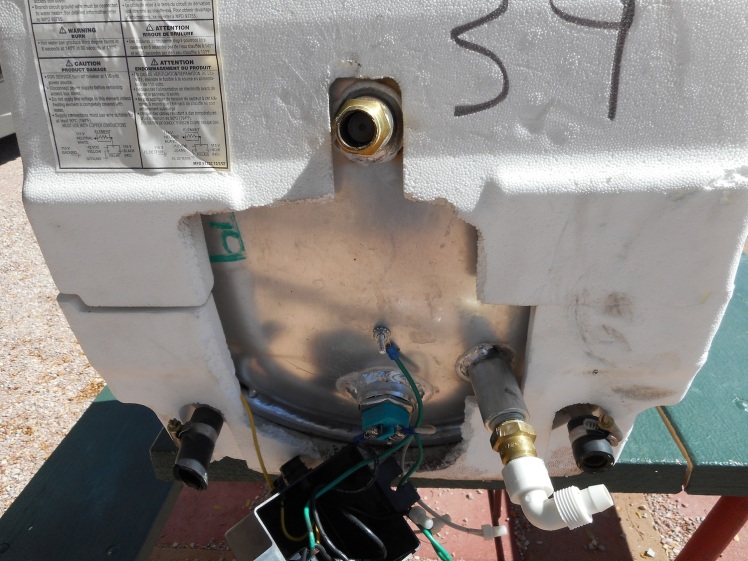
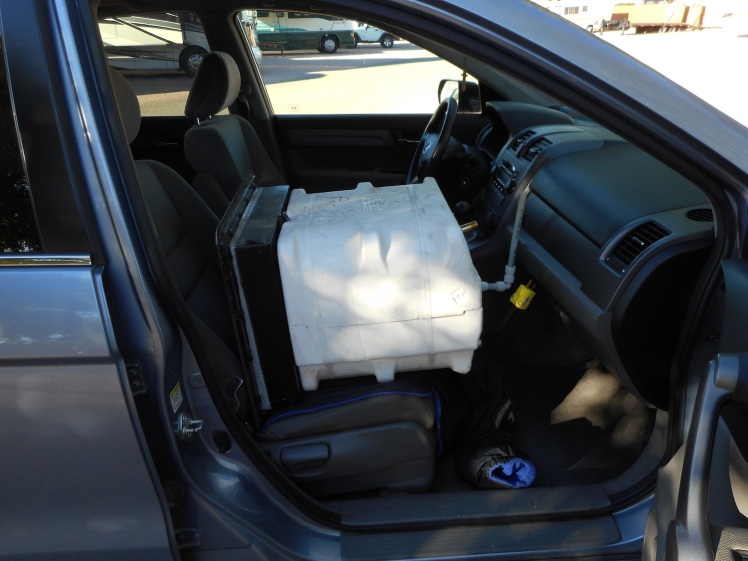
I had read on forums that the plastic internals of the one-way check valves used in most RV’s could disintegrate over time and “plug up” the plumbing, so I thought that might be the source of my problem. With only a small access door near the back of the water heater and no room to manipulate tools needed to do the job, I knew the unit had to be removed. This would be day one without water and propane!

After pulling the water heater out I removed the check valves, which were about 3 inches long and had 1/2″ NPT male threads on both ends (similar to a brass nipple). They were threaded directly into the input and output ports of the water heater, one situated to prevent water from backing into the tank and the other to prevent hot water from backing out of the tank and into the cold water supply.
I’d read that some people had just “gutted” the internals of the check valves and not experienced hot/cold water mixing problems, but I wasn’t comfortable with that. They were installed for a reason, and I was going to keep them. Although I found some “gunk” in the check valves, they seemed to be functional. I decided to replace them anyway while everything was out in the open.
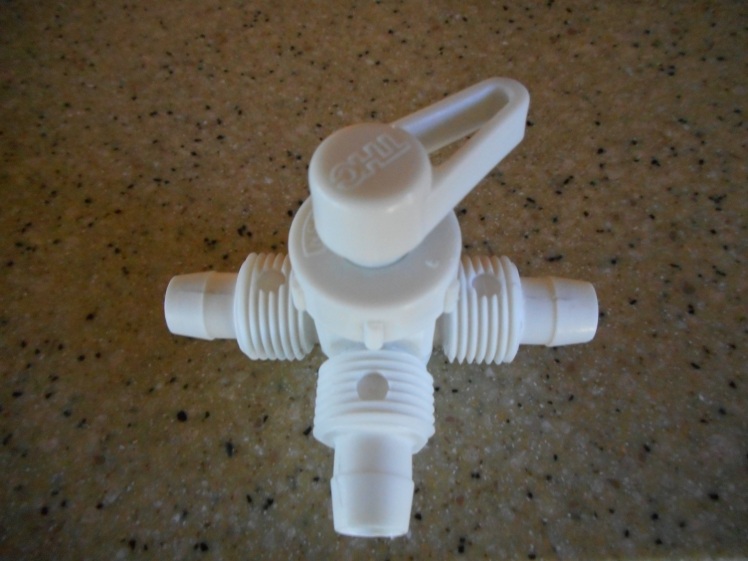
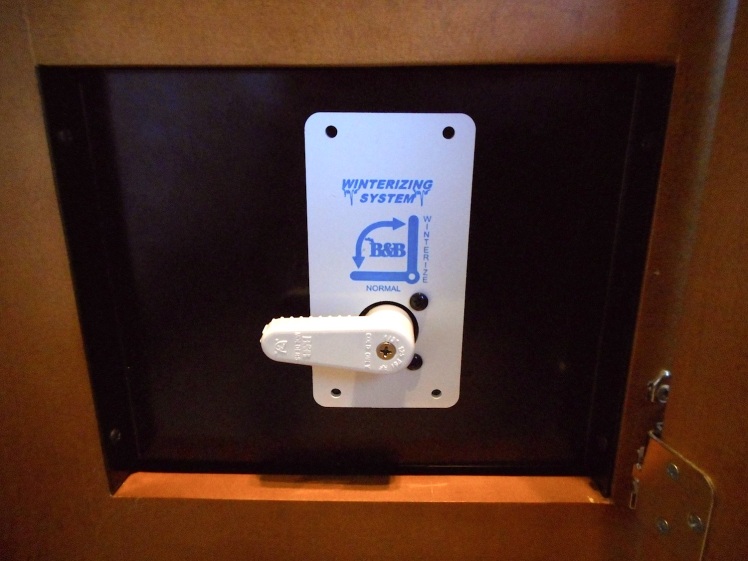
The surprise came when I removed the winterizing diverter valve while cutting out some plumbing I would no longer need. This valve bypasses the water heater when it’s turned to the “winterizing” position, preventing winterizing fluid from filling the water heater tank during the procedure.
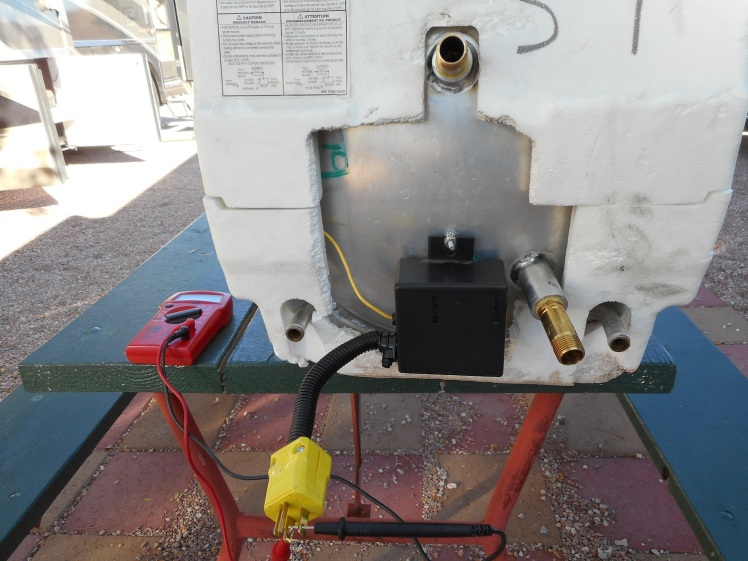
I decided to test the diverter valve by blowing air into the ports that should be blocked with the handle set to each of its two positions. I could hear some air escaping through what should have been a closed port. Taking the diverter valve apart, I found that it was actually my main problem – its internals were disintegrating, not the ones in the check valves!
It turned out that cold water was leaking through the diverter valve, thereby bypassing the water heater inlet and mixing with hot water coming out of the tank. The more this diverter valve leaked internally, the cooler the diluted hot water got at the faucets.
Naturally, I drove right over to Home Depot and got the needed parts, right? WRONG! When the “help” there didn’t even know what PEX plumbing was I knew I was in big trouble. Back to Betsy I went to do the online research that would help me get the parts to repair and upgrade my system.
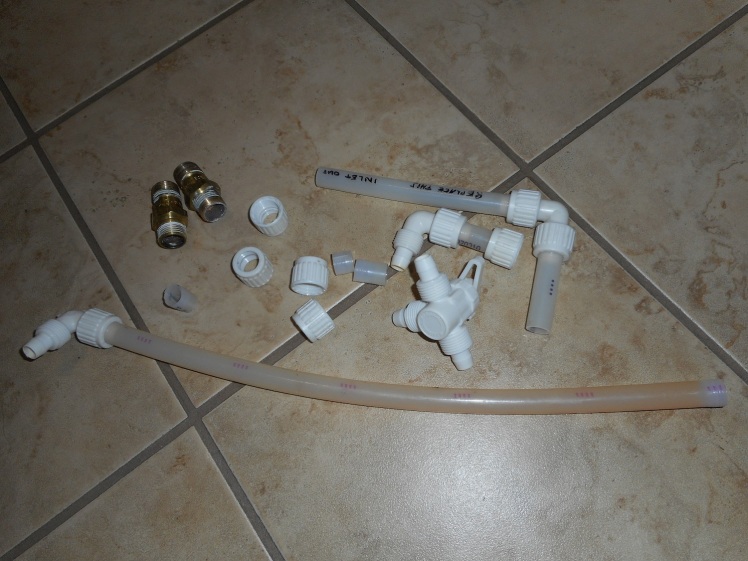
Along the way I discovered SharkBite plumbing products – wow, what a lifesaver these things are! Their check valves and other products are “push-fit” parts, meaning you just push the PEX tubing (or copper, or CPVC pipe) into the fitting and you’re done. No more crimping PEX tubing or messing with screw-on ends. Genius!
I’m a SharkBite fan for life now and will make all future repairs with their products. Surprisingly, the PEX tubing will turn around freely after you push it into the fittings, which gave me a bad feeling at first – how could it provide a water-tight seal? But I learned after several hours of testing that they do not leak.
I was also able to get their brass adapter that screwed directly into the back of my water heater, and all I had to do was shove the PEX tubing into it. That was critical, since the connection had to be made with the water heater installed and I didn’t have space in the back for wrenches and crimpers.
NOTE: Be sure to buy a PEX tubing cutter when using the SharkBite fittings, or anytime you’re working with PEX. These fittings require a nice straight cut, and the cutter is small and costs only a few bucks.
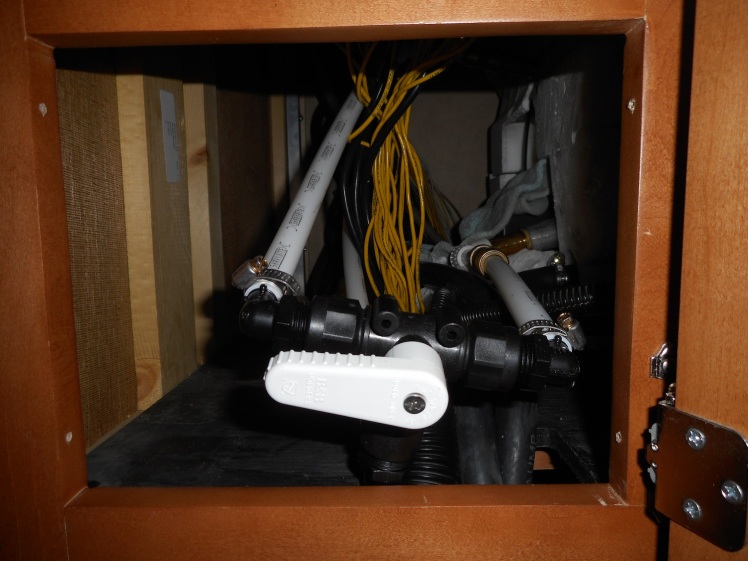
I replaced the winterizing diverter valve with a JR Products unit. It was pricey at $80.00, but I won’t have to worry about this high-quality unit falling apart. It required worm-type hose clamps to hold the PEX tubing on, but since it was right at the access door I could easily reach in to tighten them.
I had the parts overnighted to the RV park, and after re-doing quite a bit of the plumbing, flushing the water heater twice and generally cleaning things up, I got everything back together on the third day. That’s three days without water and propane (fortunately the RV park had decent showers and restrooms), and since I had to remove the heater hoses coming from the engine that help to heat the water, I couldn’t start the engine either. I wasn’t going anywhere until this job was done!
To summarize, the project was to remove and replace the one-way check valves with in-line SharkBite PEX units, replace the winterizing diverter valve and replace PEX tubing and fittings to accommodate the new arrangement. It was a great learning experience, and I hate to think what it would have cost in labor to have a professional do this job.
Now I have big a smile on my face as tons of hot water flows over me in the shower, and no more unearthly noises when I crank up the hot water – yay!

Get article. I don’t know if I would attempt to do a job like that one, but I’ll bet you saved a lot of money and the satisfaction of doing it yourself is rewarding by itself.
Oh my goodness, you are tenacious! Good thing Mona Liza was out of the country during that project. Eric is a fan of SharkBite fittings, too — he used them when he did some work on the plumbing in our previous trailer.
Yes, it’s good that Mona Liza didn’t have to hear all of that yelling and cussing…
Great job! Better than new!
Boy Steve is this a really nicely detailed post for anyone who ever has your same problem. I am really disappointed in Winnebago that they would put such a short lived product in or perhaps that they would install a water heater from a company who would. What year is Betsy? I suspect Winnona is older than she by a margin and sure hope we don’t have such a problem with ours. Glad to hear all the praise for SharkBite. David uses them too.
It was a very specific problem, but it took me a while to figure it out and I hope it will help a few other people. Betsy is an ’08, and these valves are the little things that should be quality items if folks might use the coach for full timing as many do. Especially when they’re so hard to get to!
Great job Steve. Now I know who to call with rv plumbing questions! 😉
Hi Hans,
Like many projects, ripping the old stuff out isn’t nearly as hard as installing the new stuff in a way that it actually works and looks good…
Wow, that’s quite a job! So nice of you to get it done when ML is out of town!
This was truly a man’s post! And since John never comments, I must pass on his reactions while he was reading. He was totally impressed with your handling of the wires. John tried to explain what was going on and why your idea with the wires was so great, but I didn’t have a clue. So…John was very impressed! Great job!
The wires sure were a lot easier to work with than the pipes! Glad John enjoyed the post, and thanks for sharing with us a lot of new places to hike next Fall…